16 April, 2010

Sorting the neck and headstock

From the original post about the parts I have for this build, you will recall that on this occasion, I am using an NOS Les Paul neck that I had bought some time ago. I saw it for sale on the web and couldn't miss the opportunity. As this is my first ever attempt at building a guitar, I also think making a neck from scratch may be beyond me. I will however, definitely be making my own for the next build as during the process of researching this one, I can see it is entirely possible and not beyond my limited skills.

Here's how the neck originally looked in the pics of the materials I have bought.


So the first thing to do is remove the unfinished section on top of the peg. To do this, I simply used a wire hand saw and cleaned up the tenon with sandpaper, giving me the resulting finish:


I have also made a few cardboard templates of the neck profile at key points along its length and hand sanded the neck, checking with the templates that the curves are correct as they travel along the length. The heel you see in this photo is correct for the model. Later Les Pauls had a much more rounded heel.


The rear of the headstock was totally unfinished and quite a lot of time is spent removing the excess wood with my hand sander to create the right blend of the neck, running in to the flat surface of the rear of the head.

Next, came the headstock overlay. This again, was an original NOS overlay with the Gibson logo already installed in nice Mother Of Pearl. Using the actual headstock as a template, I drew around the veneer overlay and cut it out roughly to shape, leaving a little excess around the sides and top.


This was then glued to the head using wood glue, sandwiched between the head and the MDF template I used to cut the overlay. Once in place and the glue is dry, the small amount of excess can be hand sanded away until it is flush with the headset wood.

All that remains fro the neck is final sanding and polishing of the headstock veneer, ready for final top coats.

14 April, 2010

Adding the binding to the body

Next job seems to be quite a simple task but it's one of the most nervy parts of the whole job. Routing the channel around the lip of the top is something that can ruin the whole project if you slip. My advice would be to practice over and over again on spare bits of wood until you are 100% confident you have the technique.

Also, because of the way the grain lays on the top, you should always cut the channel starting from the neck position at the top of the guitar (where the switch goes). Start your cut here and work all the way around until you have finished by going around the inner part of the horn and back up to the neck. If you go in the other direction, you will tear the wood around the horn.

To route the binding slot, i used one of these:


Click HERE for more detail

It's best to take off as little as possible and make a few passes around the job than try to do it all in one go. If you slip, or it tears the wood, your project is ruined.

The channel MUST go down to the point where the top meets the body of the guitar and be 2mm in. The binding I have is cream (again, from Stewart Macdonalds) and it measures 6mm deep by 3mm thick. This means that once glued in place, there is a millimeter of height and thickness to play with. IMPORTANT: Make sure your binding channel is super tidy and free from dust or wood particles that will interfere when laying in the binding. It MUST be a precise right angle and be sharp edged and tidy.


I started adding the binding from the top neck position. Prepare plenty of strips of tape to hold it in position and have them at hand, ready to be picked up quickly. I used SuperGlue in the slot and did around 2 inches at a time. Any excess glue can be cleaned off later in the final sanding but try not to get too much on your wood or it may soak in and effect the finish. You can tape up safe areas with masking tape if you wish to protect the wood a little.

Feed in the binding and press it TIGHT in to the slot you have made and secure it immediately with tape. I used thin(ish) strips of carpet tape which meant I could really pull on it tight without it tearing.

Here's how it looks with all the binding taped and glued in place.


I left my binding like this for one day. When all the tape is removed,the binding can then be trimmed down to something nearer the finished size. For this job, I used a combination of a 6 inch steel rule edge for the bulk of the work and a Stanley Knife blade for the tricky areas. Both work well, but watch your fingers.


Trim off enough to make the binding flush with the outer edge and the upper surface of the guitar body. It can be fully smoothed off later when the guitar is final sanded.

With any luck, your binding will be totally flush in the channel with no visible gaps and be nice and tight again all edges. Like this:


The body can now be set aside, somewhere dry and warm for a little while.

Profiling the Top

Unfortunately, getting carried away with the build, I forgot to take a picture of the jig I created to make the flat surface toward the neck pocket on to which the fretboard sits. To do this, I basically created a box in to which the body of the guitar lays with its top upward. The sides of the box are flat but part way down the sides, I cut away an angle of 4.5 degrees. This basically means that if i set a router to just miss the upper surface of the guitar top, at a set point, running over the body, it will take away wood gradually more and more as it travels toward the neck. This creates a perfectly flat surface on to which the fretboard will sit.

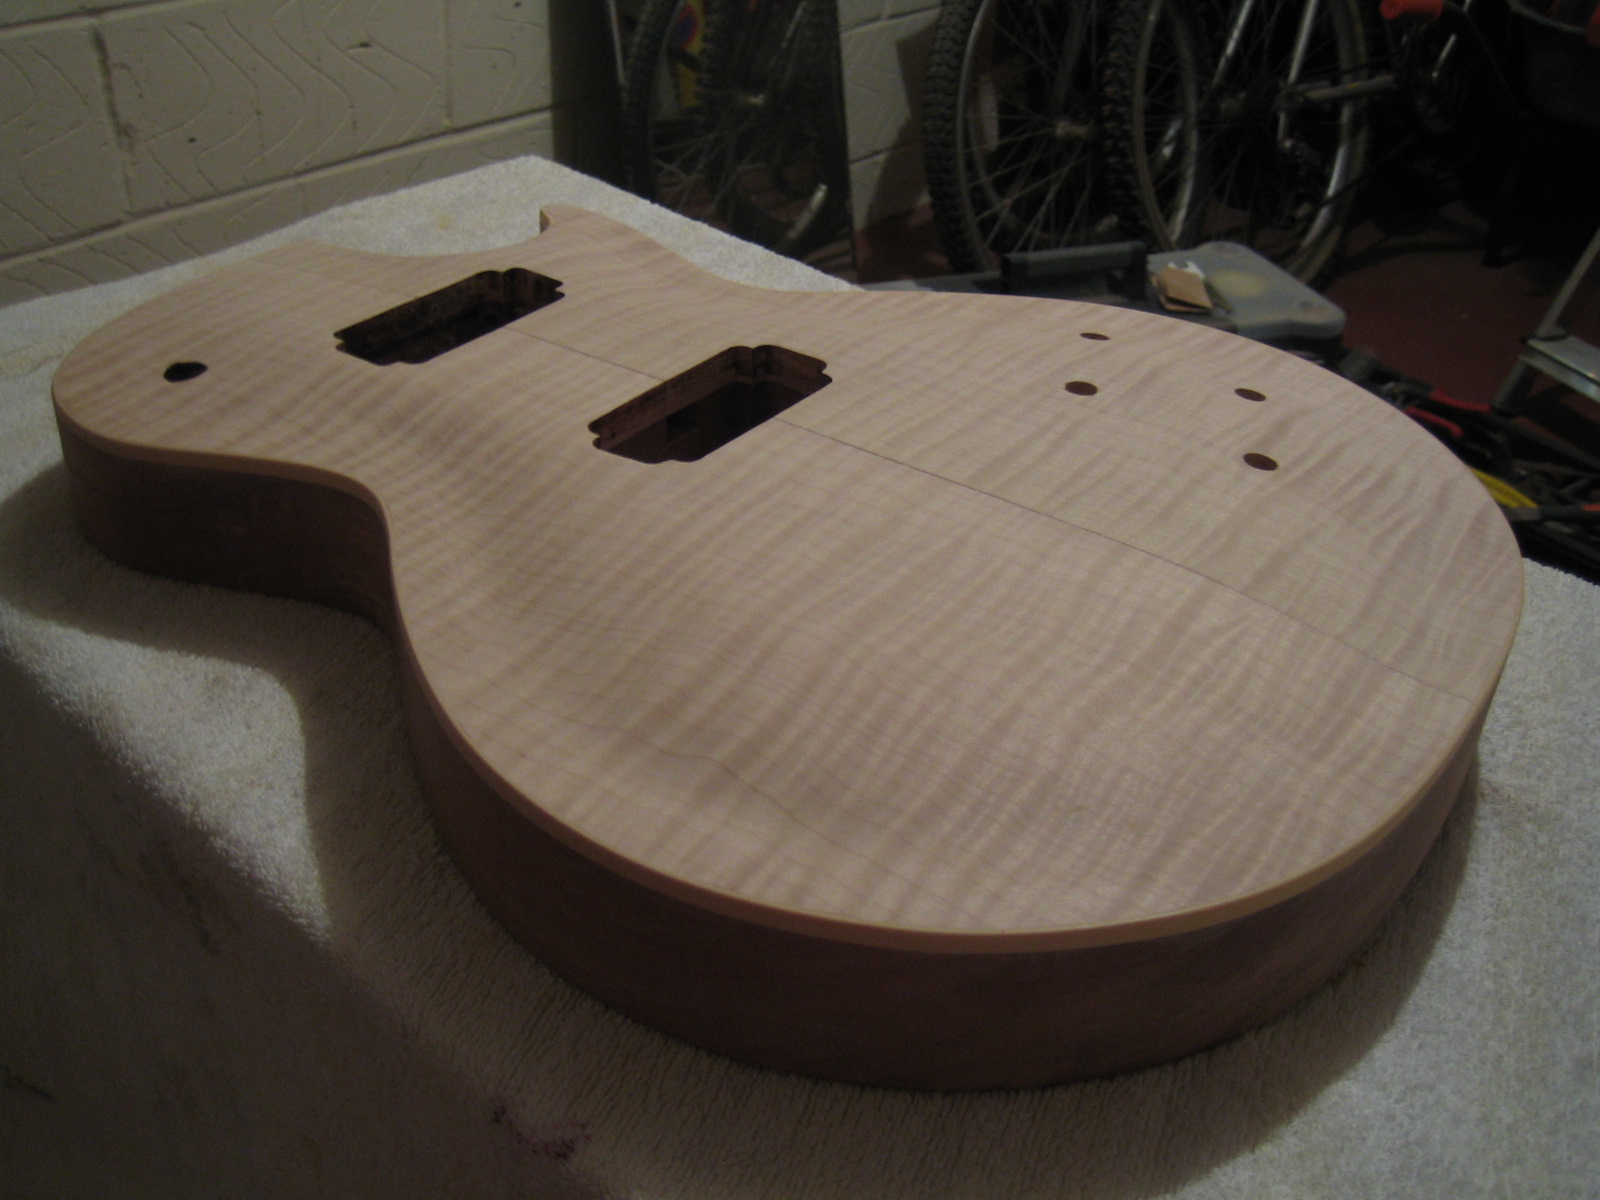
You can see the end result here:


You can see a line around the edge of the guitar which is the depth the top will eventually be profiled down to. It already has a flat slope down to this point at the neck joint. This is the flat surface I cut and described above.

At this point, you can also see that the sides of the guitar have been sanded a little cleaner so that any loose bits of wood do not fall under the body or top when it is clamped for working on. This would lead to small indentations in the surface that may be impossible to sand out without spoiling the shape or profile.


Here you can see that I have started to route a flat surface around the edge of the upper body. This flat are goes almost all the way around the LP shape with the exception of the horn area, which has a more gentle slope. This flat plane goes in to the top by 27mm before starting to curve upward to create the unmistakable Gibson Les Paul violin shape top.

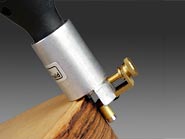
On top of the guitar body, you can see my small hand plane with curved base and blade that i purchased From Stewart Macdonals. I will hand plane the top down to the area routed out around the edge. The edge routing was done using a template Identical to that for cutting the body shape, only smaller.

I am planing as much as possible but leaving a very small lip, which i will remove with a palm sander to finish off the job.


Having taken off as much as is required with the plane, it is quite a time consuming job to finish off shaping with my small, Black and Decker palm sander. Takes ages, but the results are really good if you continue to check progress as you go to avoid over sanding and spoiling the curves.


Here is the top sanded to the correct shape without sanding to a final finish. It is very, very close to the original contour and well worth the effort of doing it by hand.


Notice inside the curve of the horn, the depth of the top is thicker than everywhere else. On modern Gibson Les Pauls, this is covered with the binding, which also gets thicker at this point. On a 1959 Gibson Les Paul, the binding was 2mm thick by 5mm deep and it ran all the way around the top at exactly the same size, so inside the horn area, a small part of the top was revealed underneath. I don't know if that was by design or a fault in the factory, but that's how it was. Gibson merely left it there and lacquered over it. I'm following the same style.

Very final shaping in preparation for the finish is yet to be done.

Body & Top.

I hope somebody finds this amusing.

When it came to putting the top on the body, i realised I didn't have either enough clamps OR the right kind of clamps. So a bit of a compromise was made. I scribed a centre line down the top of the body to indicate where the centre of the bookmatch would fall, then applied white PVA wood glue to the surface using a spreader with teeth for an even covering (a little like ceramic tile spreaders).

I applied the Maple top as two separate pieces ensuring the centre of the bookmatch lined up with the centre line of the body and then using off-cuts, long enough to spread the pressure, used all my clamps around the project to marry the two together.

To add a little more weight, I threw on my toolbox and a hammer. That 1lb or so might make all the difference. LOL


After a day, it was dry enough to remove the clamps and use the body itself as a template to route out the top. The centre line you see here is a pencil mark, as opposed to a gap.


As you can see from the image above, I have also routed out the pockets for the pickups. Once more using paper and MDF templates which can be re-used. Both pockets are identical and are down the correct depth allowing for a small amount to yet be removed from the top plane.

Cutting the body shape

Using my plans, I used tracing paper (because I don't want to cut up my plans) to make a exact copy of the body shape. I used spray mount to stick this copy to a sheet of card, which I cut out with a scalpel on the "outside" of my marked line. This card template was them placed on to a 20mm MDF board and used as a template to draw around, again, on the outside.

The reason for the above is that the end result gives you the shape of the body for your guitar with around 1 or 2mm extra all around. You can take away this extra later when finishing by hand as it is best to have a bit too much than a bit too little wood to play with. Here is the finished MDF template. It takes quite a while to cut these out using a jig saw and sanding to the final shape. But time spent getting your templates right is invaluable as it sets the standard for the end result. You can always re-use them too, so it's worth making the effort to get them perfect.


Because of the type of router I am using, sticking the template to the body wood meant that the first pass to cut out the body shape would mean trying to remove a lot of wood in one go. To overcome this, I raised the template by sandwiching off-cuts under it to "float" the template. I then clamp all this up and make a few passes around the edge of the guitar body, removing about 3 or 4mm each pass.


Once I have done a few passes, I un-clamped the whole thing and removed the template before re-applying it directly to the body. I can now carry on running passes around the body to cut out the rough Les Paul shape.


What I am left with is the roughed out shape of the guitar with a little extra all the way around.


It looks a little rough, but there really is plenty to play with and quite a lot of work still do do to achieve the final shape. But this is an excellent start.

Whilst I was at it, you might notice I also cut the slot for the wiring channel using the template technique described earlier. An original 59 Gibson would have been drilled through from the jack point but I don't have a drill bit anywhere near long enough. So I did it the modern way and routed a channel.